Sunday, July 31, 2011

Chesapeake 17 Hybrid Day 8

Progress, but slow going today.  Put the boat in the front yard so I could get the foot braces measured.  Once they were marked I drilled holes in the sides for their eventual attachment.
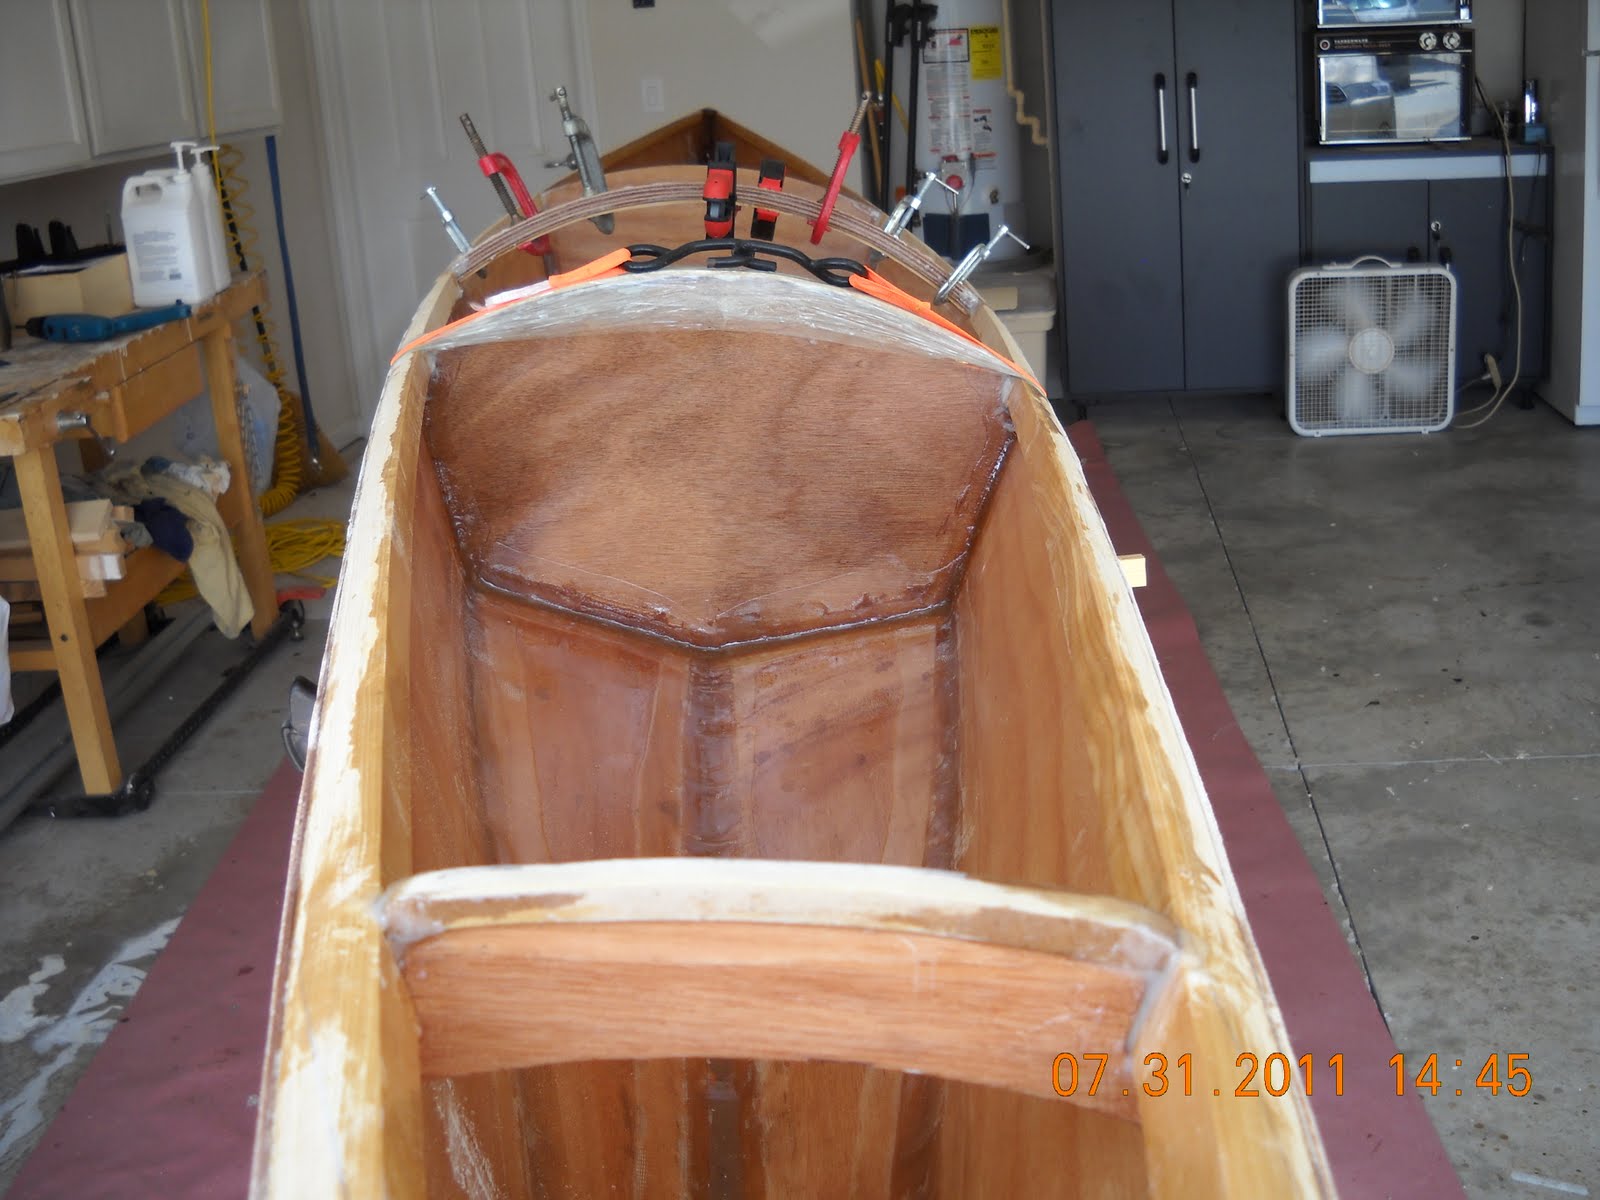
The deck beam was glued and screwed in place.  Drips and drops were cleaned up or scraped off. Tomorrow there's sanding inside and out of the hull, the inside will get another light coat of epoxy.

Ready to mark where the foot braces will go.

Wonder if I'll fit in it ?
Time to find out!

Maybe I'll leave the deck off?


Mark the spot!

Back to work.

Deck beam glued with epoxy that's thickened with cabosil, a very fine silica powder.

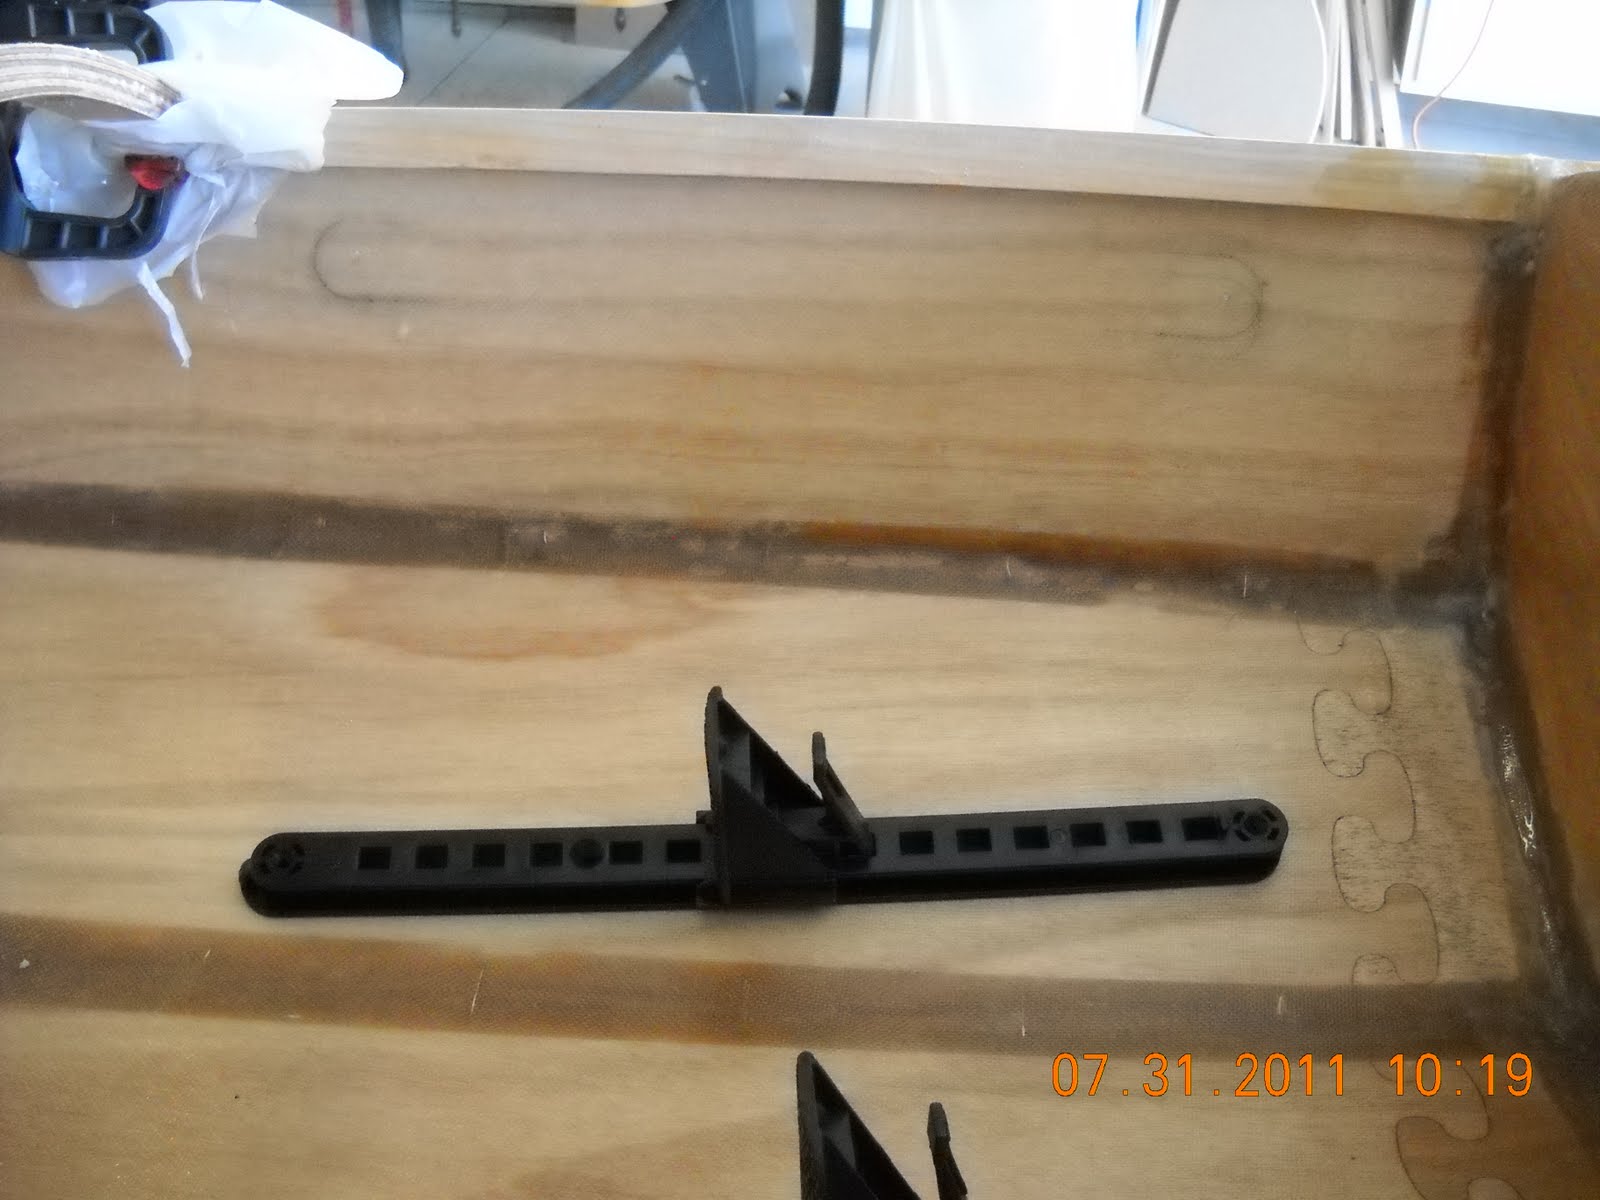
Foot brace, and the location for installation. Not too noticeable but where the marks are it has been reinforced with a strip of fiberglass and epoxy.


Holes in my boat.

Saturday, July 30, 2011

Chesapeake 17 Hybrid Day 7

Sanding! getting ready to glass the hull, I'm doing this during the evening when it'll hopefully be cooler.  Once the hull has dried, tomorrow morning I'll turn the boat over and glass the cockpit area and epoxy the rest of the interior. Then during the afternoon I'll put the second coat of epoxy on the hull and prepare the deck beam for gluing.
Tomorrow will be placing the foot braces onto the sides of the hull and installing the deck beam.

Fiberglass cloth draped over the hull.

I found letting it just drape for awhile helps getting the wrinkles out and smoothes to the hull.


Saturday morning, the first coat of epoxy is on the fiberglass. The smudge looking spots on the side are a mystery? they were not there before putting on the epoxy.


Cockpit area fiberglassed and drying!


The bow is reinforced with another strip of fiberglass in anticipation of that first underwater rock I'll hit.

I reinforced the stern, not really sure
I needed to. :)

I had to make a form the radius of the deck. there are 4 pieces of Okume plywood being glued with epoxy that was thickened with cabosil. This will get fitted and attached to the hull and become a beam for the deck over the cockpit.  Done for the day!

Thursday, July 28, 2011

Chesapeake 17 Hybrid Day 6

Sanding, sanding and a little more sanding.  Went through a box of 25, 150 grit sandpaper disks, smoothing off the copper wire ends tends to chew them up a little.  The hull is ready inside and out for the next step.  The end pours, this is where you make a little dam using cardboard or something like that to hold the epoxy in while it hardens. The bow and stern both get an end pour.  Tomorrow some more sanding, then possibly the first coat of epoxy on the inside.

Epoxy fillet, end pour.


My end pours are small, hopefully not too small. I'm going for a much lighter boat than my first go around.

Wednesday, July 27, 2011

Chesapeake 17 Day 4 and 5

Hot, hot, hot !  Today was applying the fillets  (fill its), cutting the fiberglass strips that will go on the fillets and then applying the epoxy. From previous experience I learned to make small batches of the epoxy. Since its made of a resin and a hardener once added together they create an exothermic reaction (it gets hot) and hardens. The temps in the garage yesterday and today are in the mid 90s so the epoxy is cooking off even faster. Anyway the wire stitching is cut off and the hull and inside are almost ready for a full coat of epoxy. The forms are cut for the cedar striping and that'll be the next big jump.

The fillets are in and the fiberglass strips are ready to be epoxied onto the fillets.

Once the fiberglass strips are wetted on with the epoxy they almost disappear.


The shearclamps will be planed or shaped to the same degree/radius as the deck.

Epoxy fillets will be applied in the seams between the masking tape.

Once dry (tomorrow) the tape comes off, then some light sanding.

So far this boat is coming along better than all the others ... :)

Monday, July 25, 2011

Chesapeake 17 Day 3

Long day, today the bow and stern come together and will get stitched to the bottom. The Kayak is upside down to do this with some scrap sticks to keep the bottom from falling inside the side of the hull. Once the stitching is done the kayak is raised on each end, 2 pieces of scrap wood are placed across the sides parallel to each other, then I sight down the boat to see if the boat is wracked, it's straight and true! :) :)

This afternoon I started with the fillets, a mixture of epoxy and wood flour a very fine saw dust. This gets put into the seams with a strip of fiberglass and more epoxy.
Now its time for a cold beer!
Sides are joined at the bow and stern.


The bottom is placed on the spreaders and will get stitched to the sides of the hull.

The wire stitching is pretty loose at this point.

Once the tightening process starts it will straighten some and start to look like a boat.

A 1/16" drill bit for the copper wire... lots a holes in this boat.

Its stitched, its 90 degrees and the humidity is higher!

Keel line pretty straight at this point... that's good ! :)

Bulk heads are in place and ready to be epoxied with fillet.

Fillets are a mess that literally don't clean up. It sticks to everything!!!


Done for tonight! I'll finish up tomorrow... hopefully.

Sunday, July 24, 2011

Chesapeake 17 Hybrid Day 2

Today involved cutting the shearclamps to length and gluing them with epoxy to the insides of the hull. The shearclamps will eventually be planed to the same angle as the deck and will be what the deck eventually gets glued to.  Both halves of the bottom will get stitched together with copper wire.  Everything sits overnight until cured then some of the big parts start to come together.

One side of hull ready to have the shearclamp glued with epoxy to it.

Both halves of the bottom are ready to be stitched with copper wire.


Bottom halves are stitched together.  The CNC puzzle cuts are easily seen here, they make this installation much faster and more accurate.

The keel line is quite straight as is, this'll help alot later.

One shearclamp is on, the other is right behind.


Both shearclamps are glued on!


Back looking towards bow.